Puppets

Welcome to the puppet-making resource page! Here you’ll find patterns, materials lists, and step-by-step photo instructions for building Snoof Puppets and Glove Puppets. These puppets are great for classroom use, storytelling, and creative expression.
Video Tutorial
Most of my methods and ideas came from this video, which is worth it for the dad jokes if nothing else.
Snoof Puppets
Here is the pattern from Puppet Nerd (I provide it here so you do not have to give a random website your email address): Snoof Puppet Pattern
Materials
- From Amazon:
- FabricLA Shaggy Faux Fur Square - 15” X 15” Precut. Comes in almost every color you woudl ever want
- ToLanbbt 8 Pcs Adhesive Foam Padding Sheets Closed Cell Neoprene Foam
- 100 Pcs 3D Clear Safety Eyes
- 60 Pcs Felt Sheets Fabric, 4” X 4” Soft Felt Sheets (Black)
- 60 Pcs Felt Sheets Fabric, 4” X 4” Soft Felt Sheets (Red)
- Geyoga 12 Pairs Women Triangle Bra Insert Removable Sports Bra Pads Inserts Women Replacement Pad
- Any type of Utility knife with Retractable Snap-Off Blade
- Any type of Cut Resistant Gloves (since you WILL be cutting with razor blades rather than scissors)
- Scissors for cutting thread and trimming felt.
- Choose Whichever Colored 12–20mm Safety Eyes you like in color of your choice
- From Wawak:
- Coats and Clark polyester thread (500 yds)
- Wawak Plastic Sewing Clips - Standard - 1” X 3/8” - 100 Pack
- Sewing Needles, size 7 (or your preference)
- From PuppetPie.com:
- 40 mm EVA foam eyeballs
Instructions
Step 1 — Prepare the Fur and Workspace
Lay out your faux fur squares and gather your sewing tools. Cut the fur pieces according to the Snoof pattern template.

Step 2 — Set Up for Sewing
Thread your needle with polyester thread and have your sewing clips within reach. Arrange all cut pieces in order so assembly goes smoothly.

Start by assembling the mouth piece. Use the red and black felt sheets to create the mouth interior. Clip the pieces together before sewing for alignment.


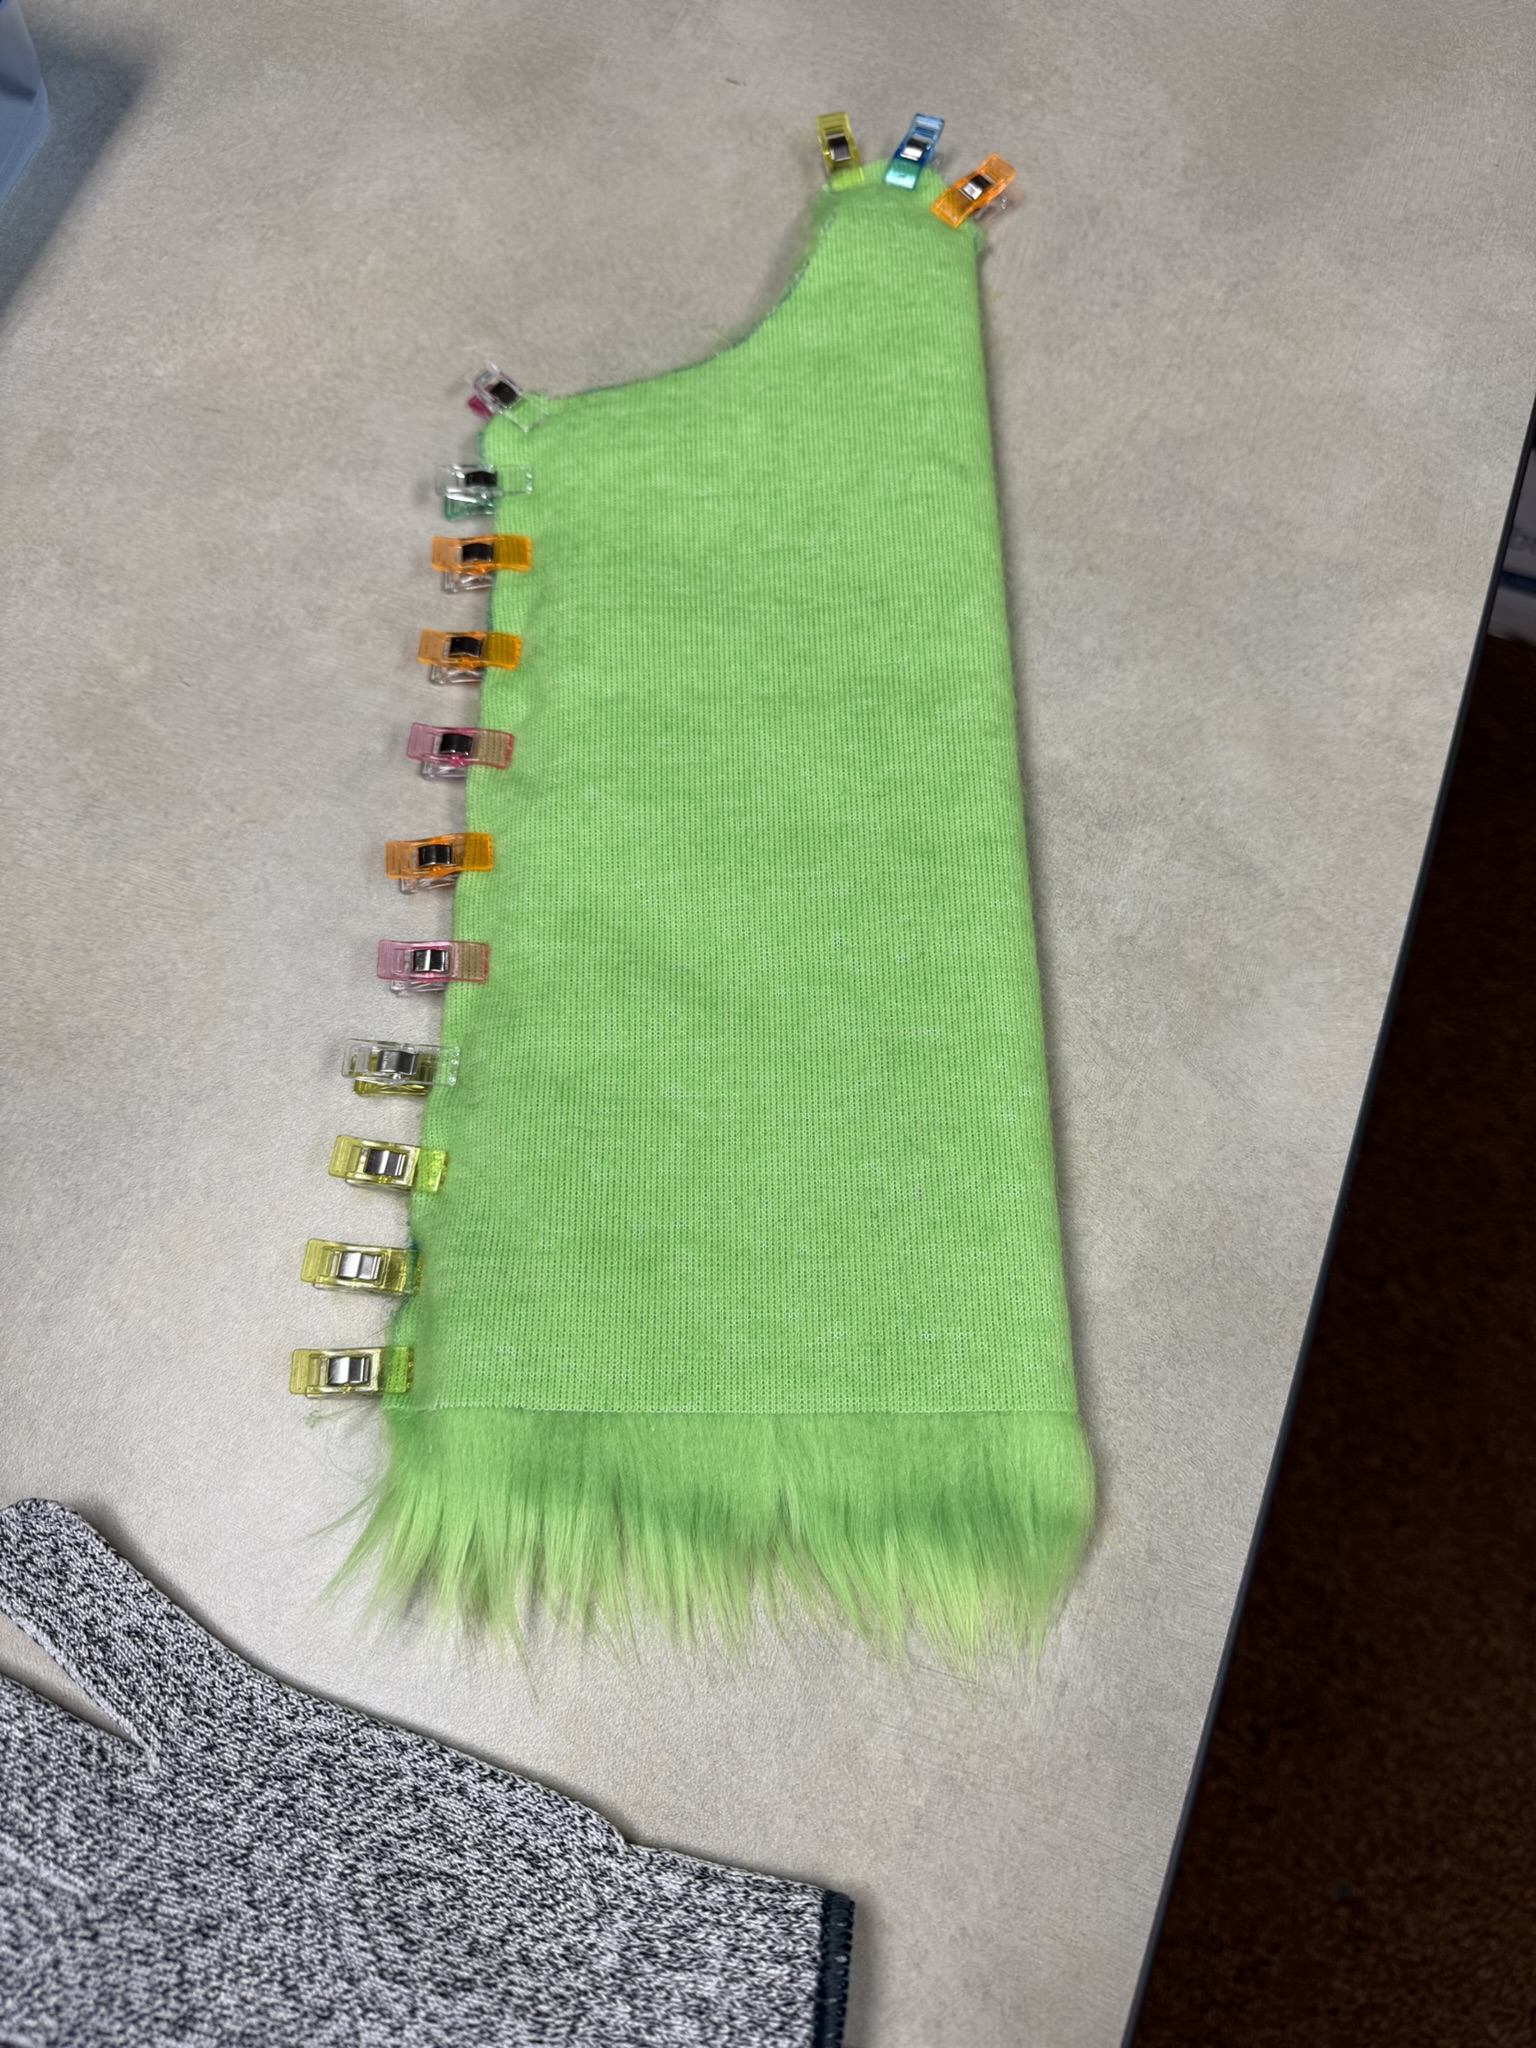
Step 4 — Assemble the Body
Sew the fur body panels together, attaching the mouth piece to the front. Use clips to hold seams in place as you work around curves.

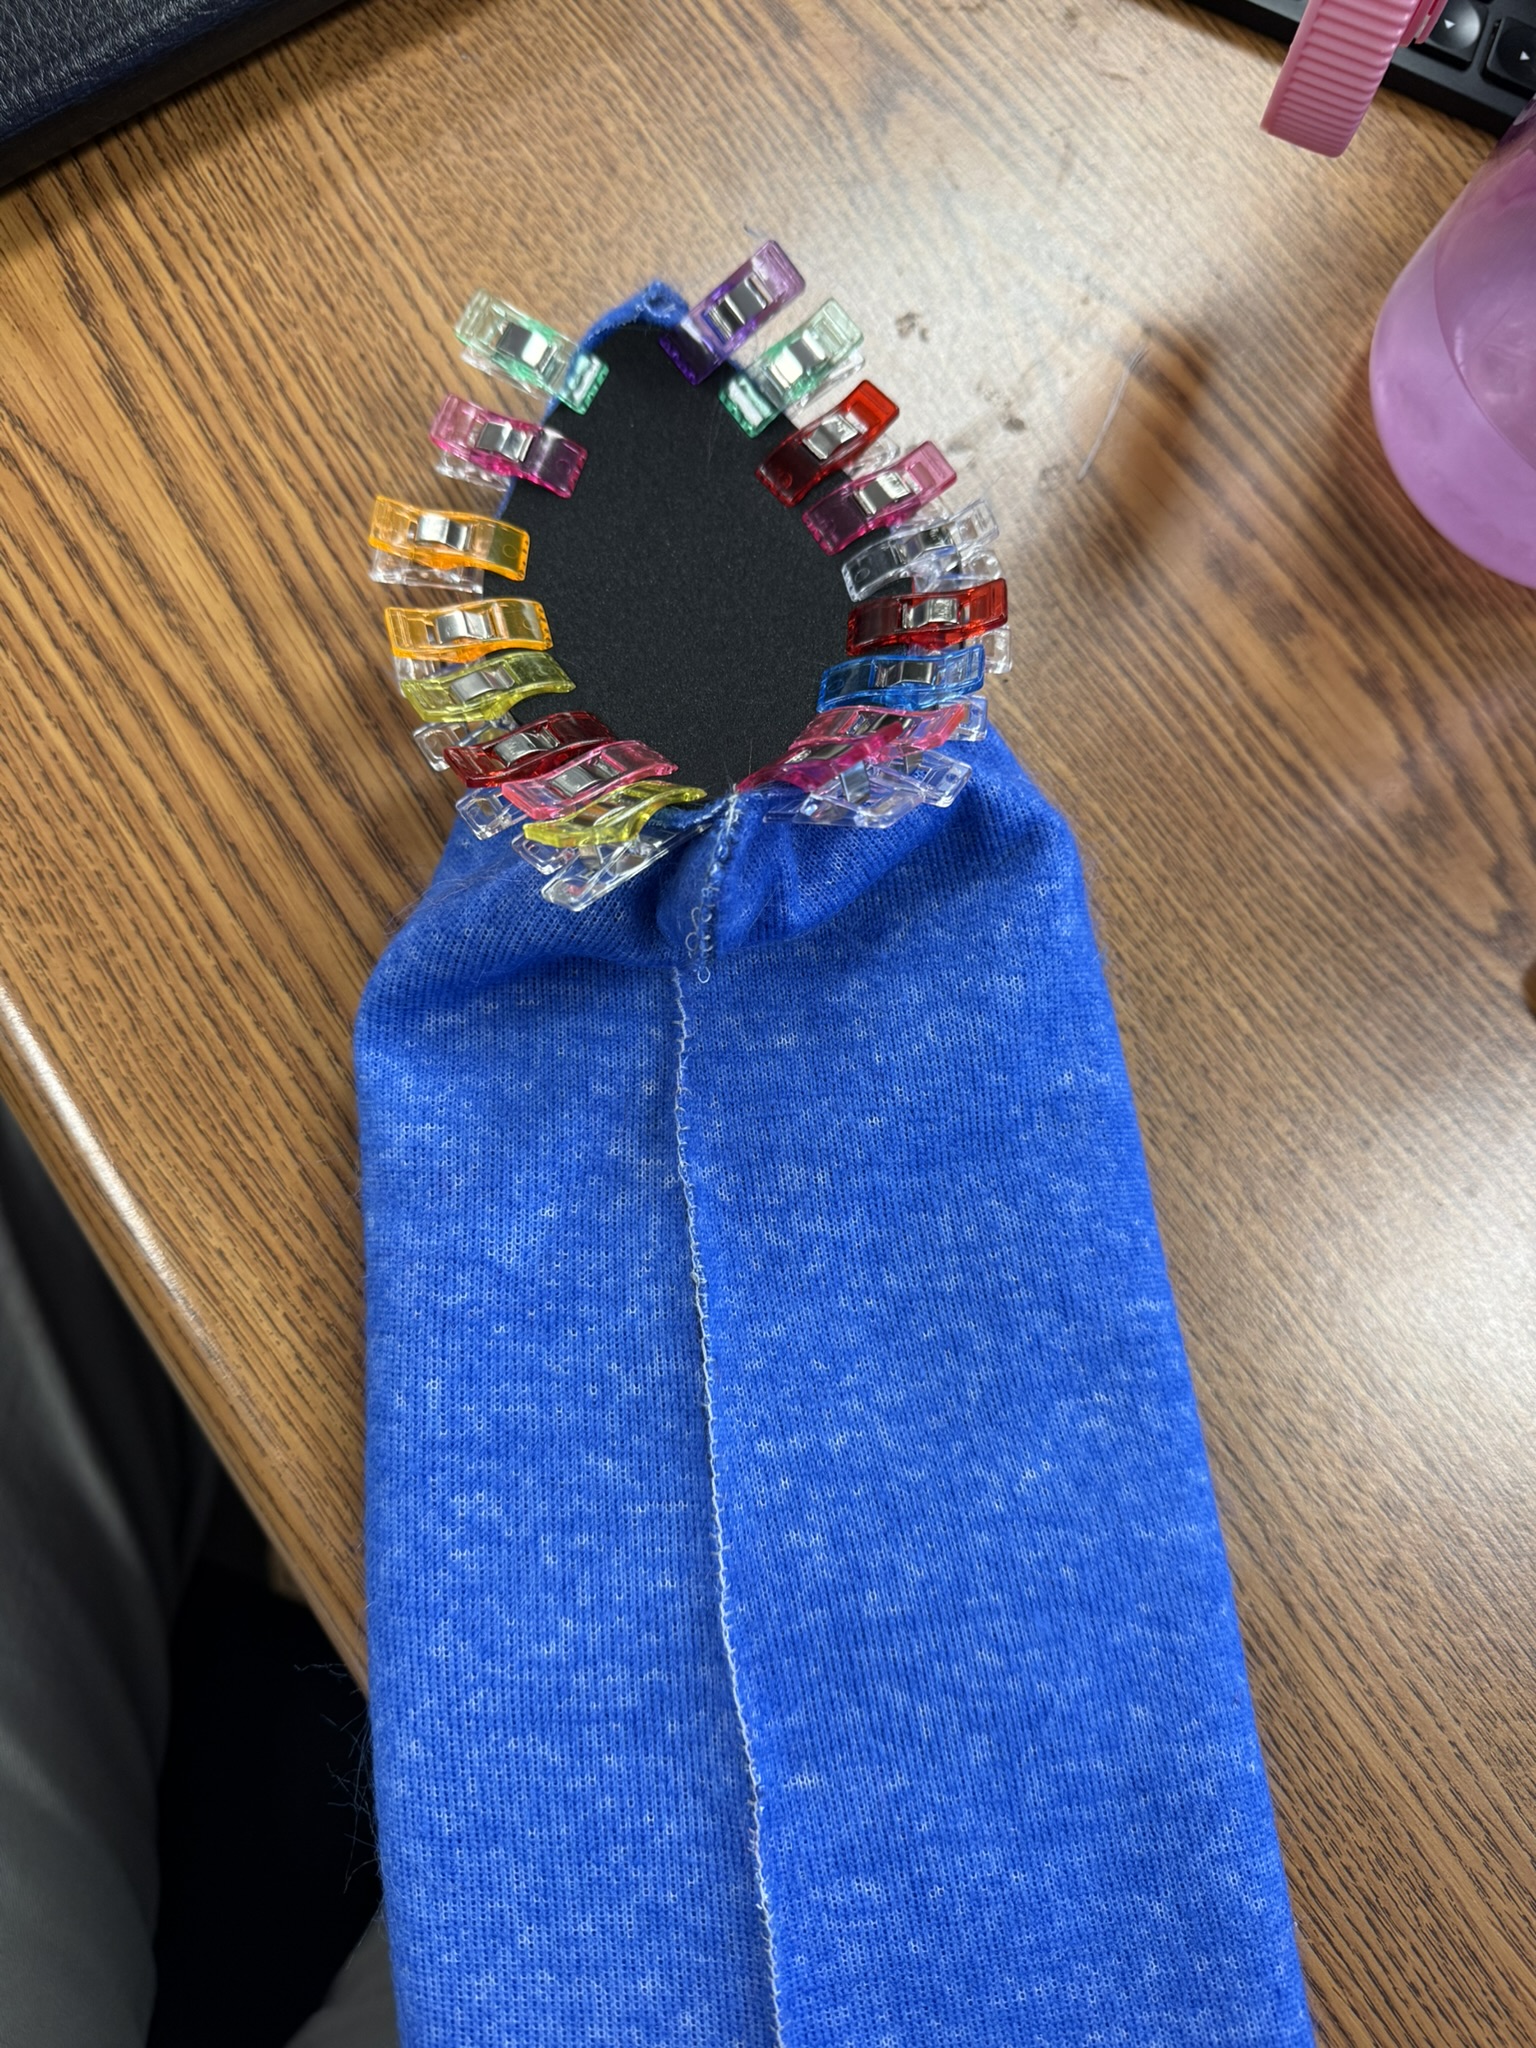
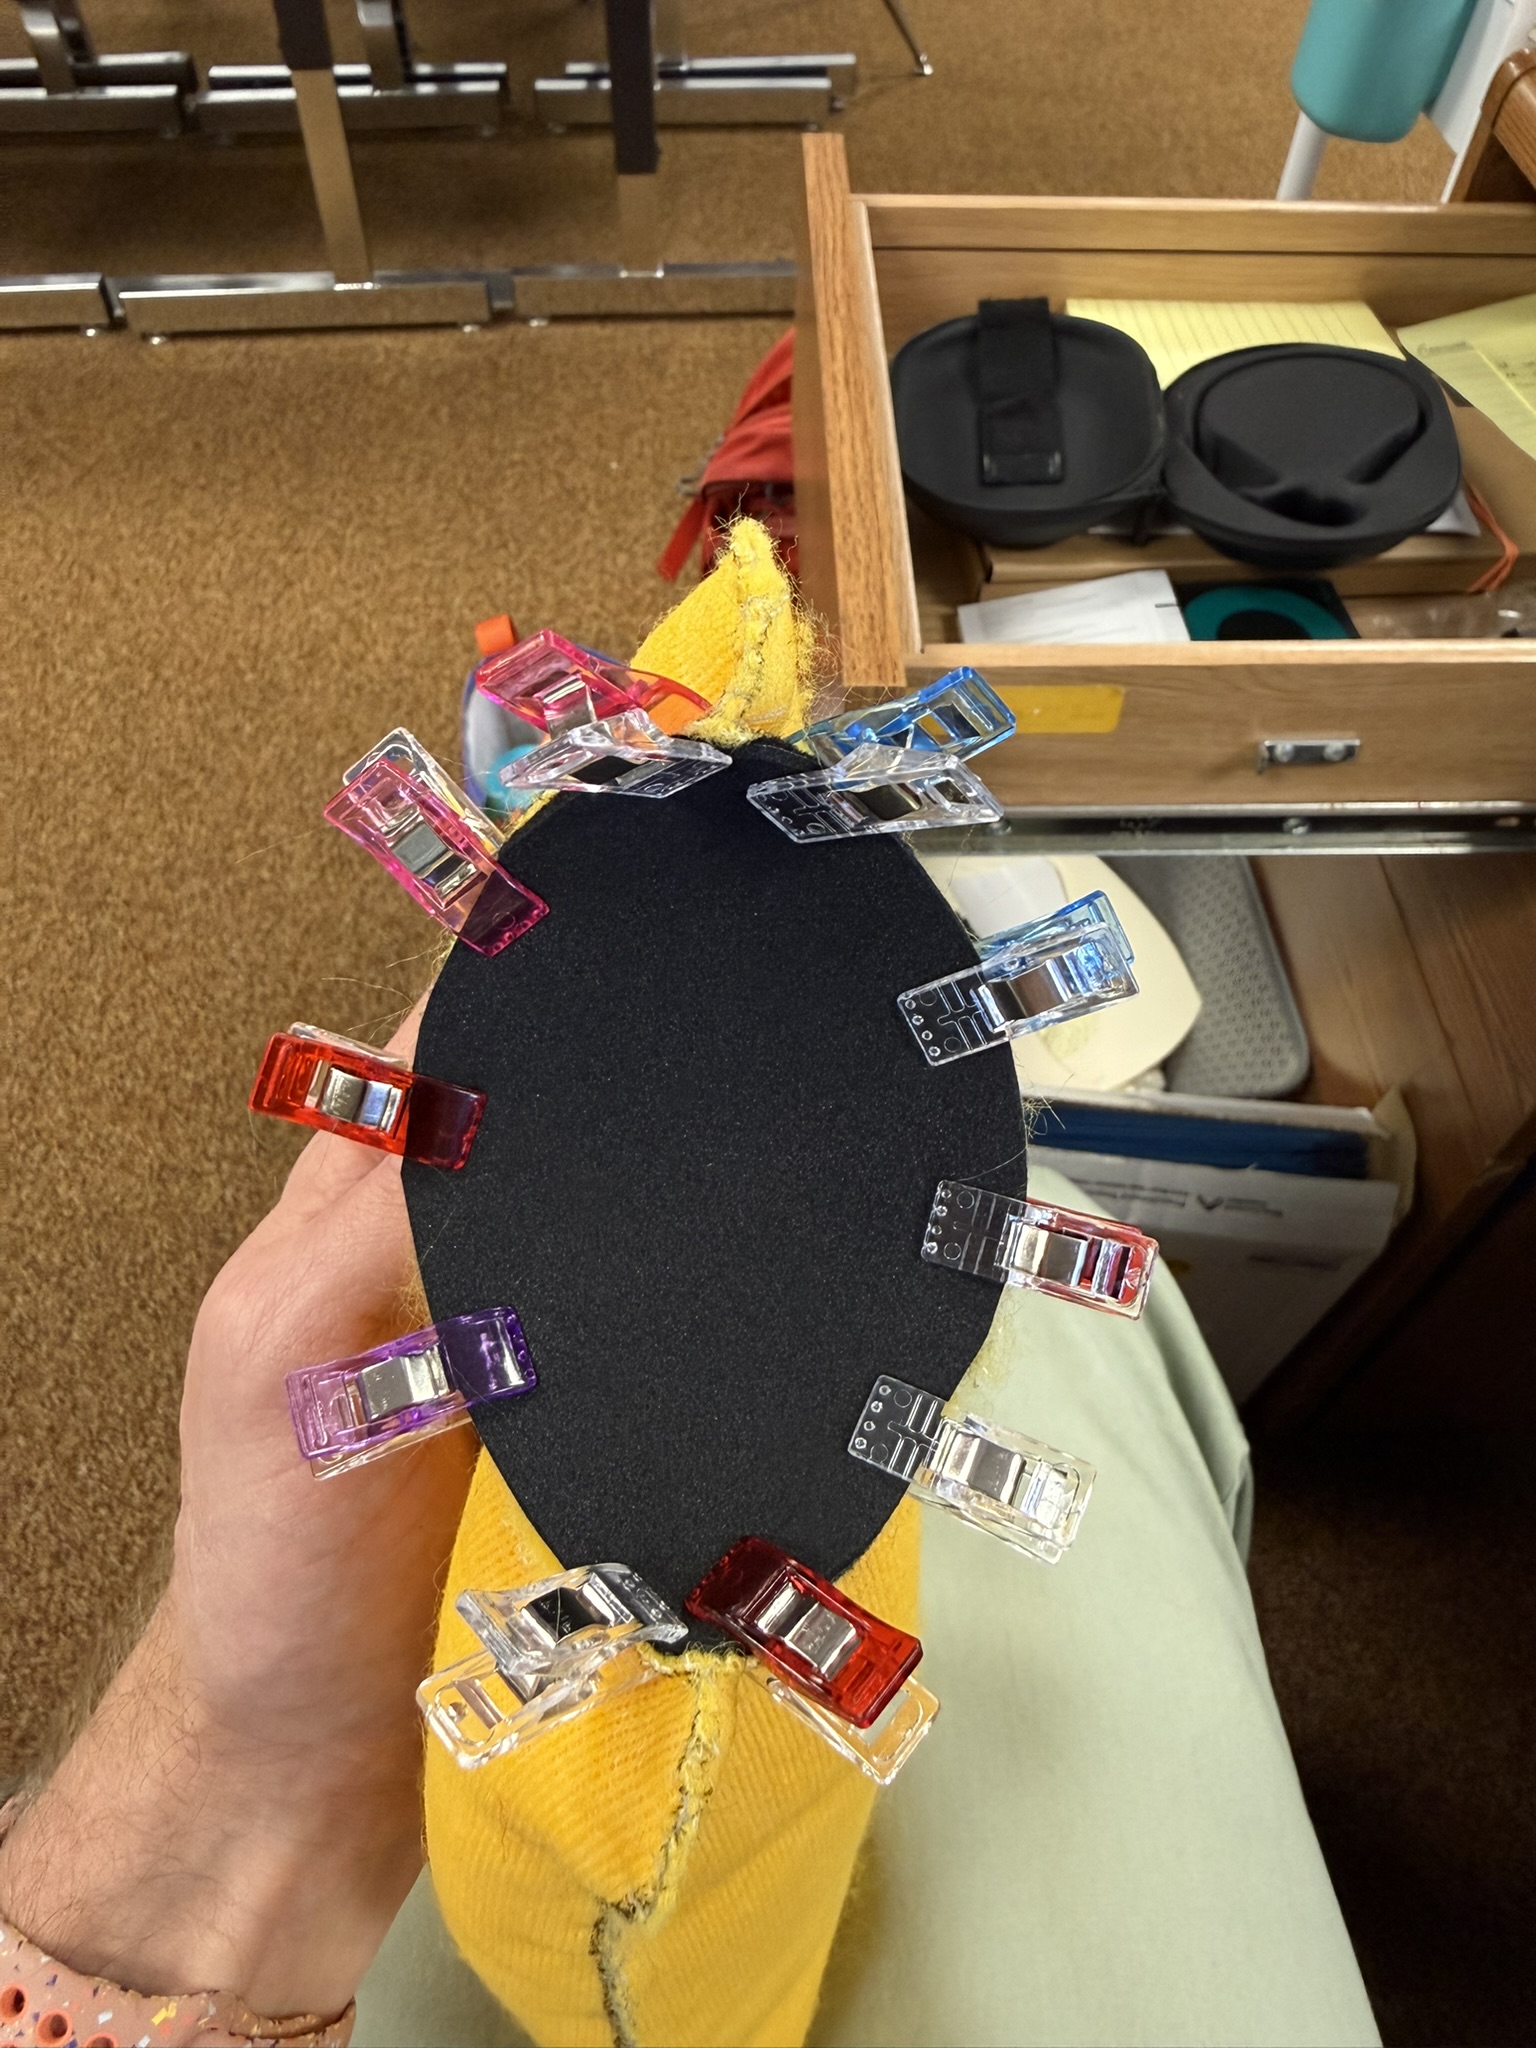
Step 5 — Place the Eyes
Attach the EVA foam eyeballs with safety eye posts from the inside. Position them symmetrically — the photos below show internal placement from two angles.


Step 6 — Finished Snoof Puppets

Glove Puppets
Here is the pattern from Puppet Nerd (I provide it here so you do not have to give a random website your email address): Snoof Puppet Pattern
Materials
- From Amazon:
- XSEINO 6 Rolls 12” X 35” 1.4mm Thick Soft Felt Fabric Sheet — 6 Assorted Classics Series Colors Felt Pack for DIY Craft Sewing Squares Nonwoven Patchwork
- Any appropriately sized buttons for eyes
- Scissors for cutting thread and trimming felt.
- From Wawak:
- Coats and Clark polyester thread (500 yds)
- Sewing Needles, size 7 (or your preference)
Step 1 — Lay Out the Pattern
Print the glove puppet pattern and lay it on your felt sheets. Pin or clip the pattern in place before cutting.


Step 3 — Attach Eyes and Features
Position the button eyes on the puppet face. To make life easy, attach the eyes PRIOR to sewing the pattern together. when you sew the puppet together, the eyes will be on the inside
For smaller glove puppets, the photo below shows a suggested eye layout.

Step 4 — Sew and Finish

Leave a Comment
Note, I use Remarkbox for comments to prevent Disqus from showing ads or other methods requiring a GitHub login for participation in any discussions. Although you are asked for you email, there is no need to verify it through remarkbox in order to leave a comment. Verification is just so you can track discussions, etc. without the system treating you as a new person every time.